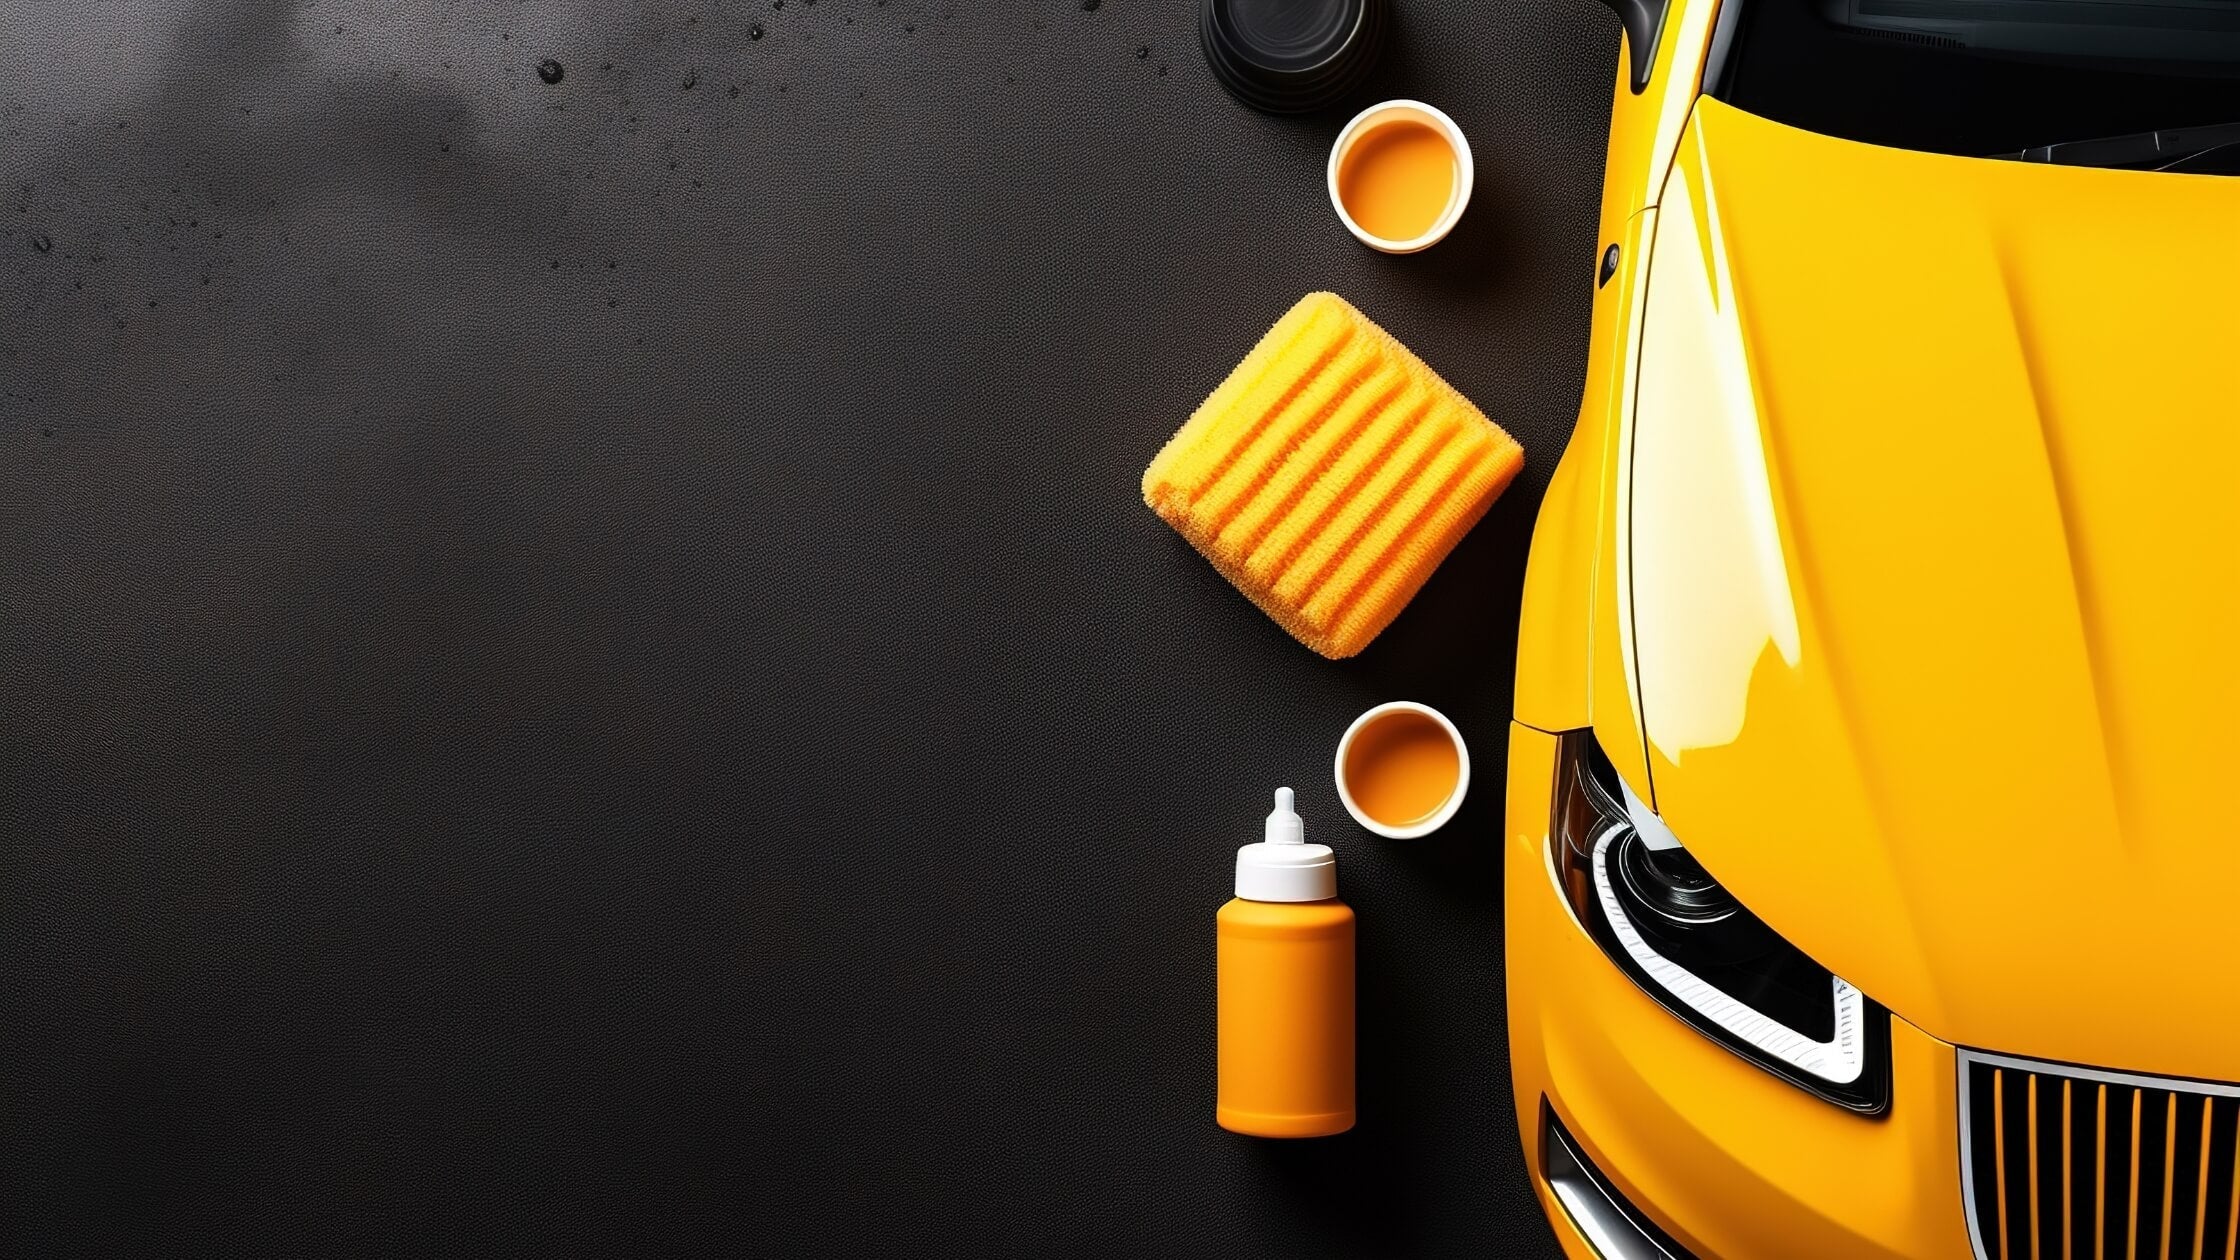
Perfect filler adhesion starts long before you open the can.
Whether you’re building boats, restoring cars, shaping plugs, or just trying to get a flawless surface finish, how you prep the surface is often the deciding factor between a repair that lasts and one that fails. In this post, we’ll break down best practices for surface prep for filler adhesion, so you can get optimal performance from vinyl ester, epoxy, or polyester fillers, every time.
Why Surface Prep Is the Most Important Step
No matter how advanced your filler is, it won’t perform if it’s applied over contaminated, slick, or unstable surfaces. Poor prep leads to weak adhesion, delamination, print-through, or premature failure, all issues that cost time, money, and reputation down the line.
Proper prep ensures:
-
Strong mechanical bond
-
Uniform cure and performance
-
Clean transitions between substrate and filler
-
Minimized rework or finish defects
Surface prep is the foundation that everything else rests on. Skipping it is never worth the shortcut.
How to Clean the Surface Before Applying Filler
Before you touch sandpaper or a spreader, start with thorough cleaning. Fillers should always be applied to a dry, clean, contaminant-free surface. That means paying extra attention to remove dust, waxes or mold release agents, oils, grease, or fingerprints and even residues from previous coatings.
-
Start with a degreaser or solvent wipe (like acetone or isopropyl alcohol) and a clean cloth to wipe down the surface.
-
Always follow solvent with a dry wipe to avoid residue.
-
Avoid water-based cleaners unless you’re sure the surface is non-porous and the cleaner leaves no film.
Pro tip: If you're prepping a fiberglass panel, watch for invisible contaminants like amine blush or old wax - especially in marine or mold-release applications.
Sanding for Filler Bonding: Grit and Technique Matter
Once clean, mechanical abrasion is what gives the filler something to grip. Skipping or underdoing this step can lead to delamination or “popping off” later under stress or vibration.
Before you start, be sure to choose the correct grit for your surface! Here’s a general grit guide:
-
80–100 grit for most substrates (fiberglass, metal, wood, gelcoat, cured primer)
-
36–60 grit when prepping for high-build structural fillers or working on rougher surfaces
-
120+ grit is usually too smooth and may compromise adhesion
Pro tip: Avoid using sanding sponges or overly fine abrasives that burnish the surface. You want a consistent scratch pattern to allow the filler to “key in” effectively.
Material-Specific Surface Prep Tips
Seasoned fabricators and techs know: surface prep isn’t one-size-fits-all. The way a material reacts to filler—whether it’s bonding, curing, or finishing—depends heavily on its surface energy, porosity, and contamination levels.
Not all substrates behave the same way. Fiberglass may just need a quick scuff and solvent wipe, while aluminum might require an acid etch or mechanical abrasion to get proper adhesion. Gelcoat can be slick and waxy right out of the mold, which means skipping the degreasing step could wreck your bond. And when you’re working with composites or carbon fiber, even small amounts of residual mold release can sabotage your results.
Here's a few tips to watch for:
-
Fiberglass or Gelcoat: Sand aggressively to remove oxidation and open up the surface. Avoid shiny spots or wax residue.
-
Aluminum or Bare Metal: Degrease thoroughly and sand to a bright finish, then fill immediately to avoid flash rust or oxidation.
-
Wood: Make sure the surface is dry and sanded with 60–100 grit. Avoid applying filler over decayed or soft fibers.
-
Painted Surfaces or Primers: Always sand through to a mechanically sound layer. Don’t apply over loose, flaking, or glossy paint.
The Bottom Line: Prep Like It Matters—Because It Does
A filler is only as good as the surface it’s bonded to. Investing a few extra minutes in proper surface prep can save hours (or days) down the road. Whether you’re using FairTech VE, Epoxy Tech, or FairTech PE, good prep is the performance multiplier that turns a good repair into a great one. Shop the full lineup now and get the right filler for the job—ready to work as hard as you do.
Share:
When to Use a Vinyl Ester Filler vs. Epoxy or Polyester
Automotive Body Repair: Choosing the Right Product for Each Stage